
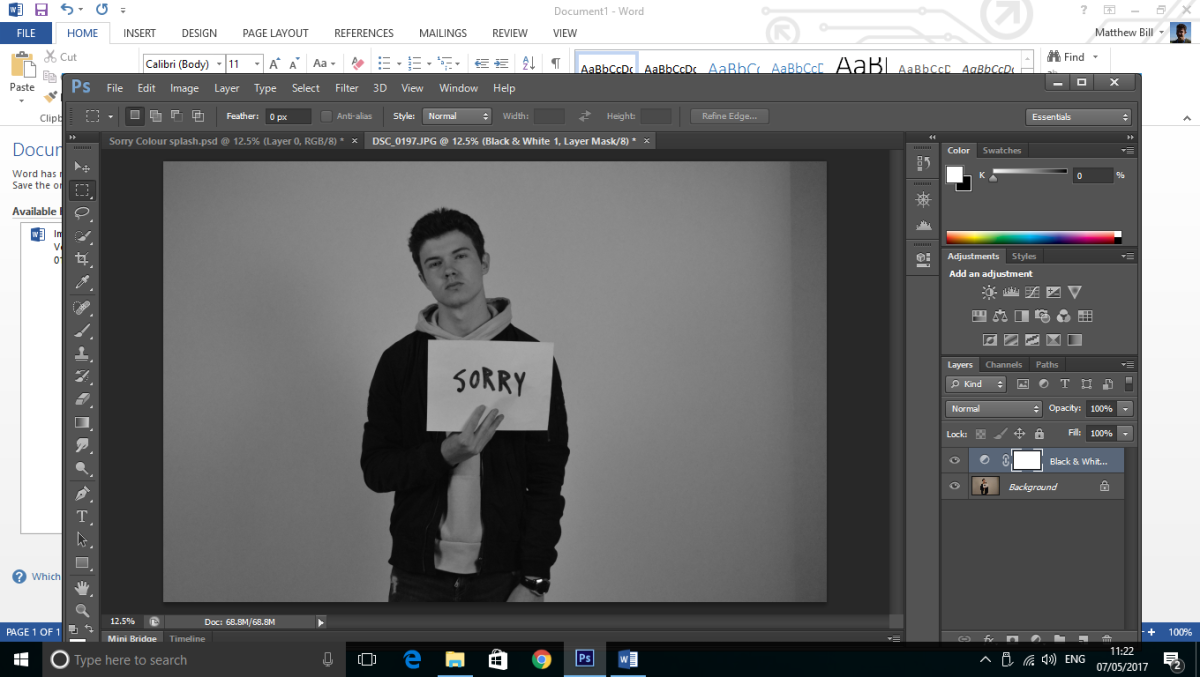
My original idea was to simply put a B&W filter over one of my photographs but personally I thought it looked quite plain and almost boring to look at (this wouldn’t have attracted my target audience at all due to being just too simple and not much going on in the image.) After this, I started to experiment with different photography techniques and decided to proceed with a colour splash to my original photo. I also experimented with brightness settings to make the image more visible to the naked eye. I also used the ‘heal’ setting to get rid of any spots/unwanted marks on the subject’s face.


Eventually the colour splash was complete and the photo looked a lot more attractive but I still felt that this idea was too simplistic for my target audience. So after saving the colour splashed image, I reopened the same image with one of Justin Bieber’s previous album artworks “U”. I opened both images on the same document and decided that I was going to blend the two images together.
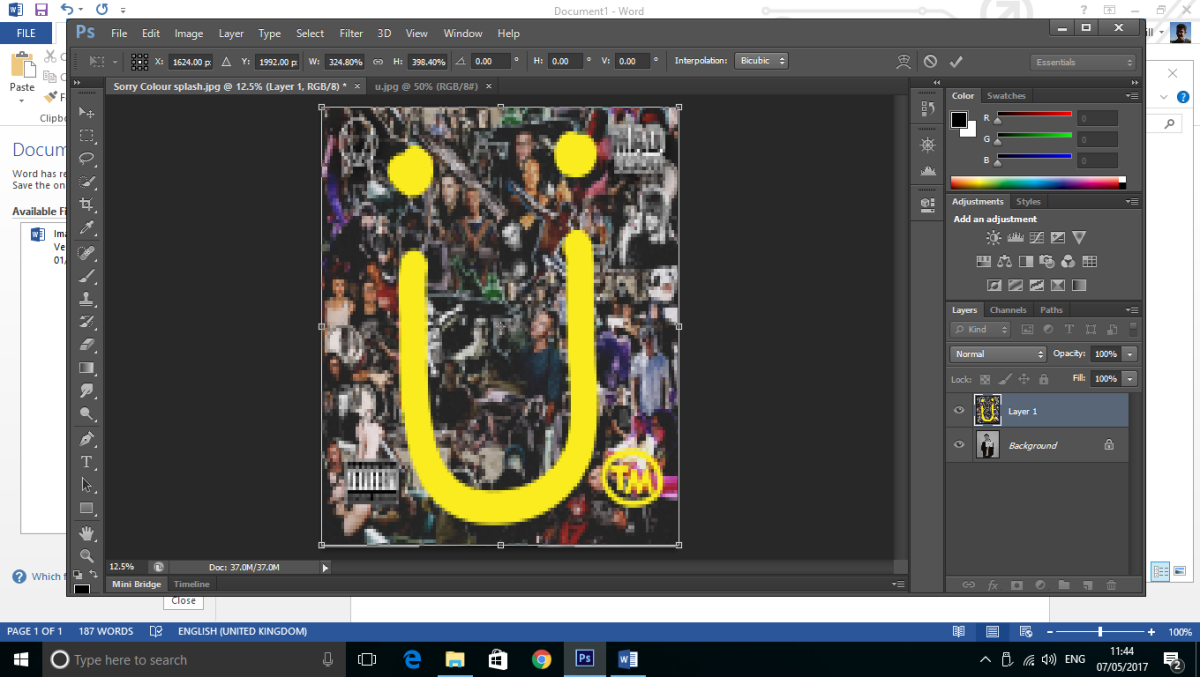
Once I resized the album artwork over my colour splashed image, I added a layer mask on the top layer allowing me to start blending both images together. After this, I finally used the paint brush tool to brush under the top photograph presenting both images to be blended together. This was the final step to creating my final piece. Finally, I used a custom font to add in text over the top of my music magazine.


